A modern kids treehouse - a cherished childhood memory and a kid's fantasy for many of us. If you were fortunate enough to have a treehouse as a child, it was most likely your private hideaway, a special spot you could hang out at whenever you wanted to be alone or hang out with friends - all the toys and games you could enjoy all day!
How to Build a Modern Kids' Treehouse
Nothing is more magical than that for a youngster. But it's undoubtedly a nightmare for a father who has to build anything like that on his own! When you have children, it's reasonable to want to share that special place with them by constructing a treehouse.
Whether you want to share your unforgettable childhood experience of having a magical playhouse on the tree with your children, or you want to construct for them the tree tower you always wanted to have, we got you covered! In this article, we’ve compiled a list of different DIY treehouse ideas and tips!
Depending on how effectively you can use a hammer and a few other tools and materials, these treehouse design concepts that will inspire your inner child vary from really easy to unusual and intricate.
Treehouses include several components that must be shaped and secured together. Certain instruments, such as diamond grinding wheels, are required. A fully equipped workshop is not needed to create a treehouse because it is not very difficult to construct. The idea is to reduce time on repeated chores while maintaining precise measurements and angles.
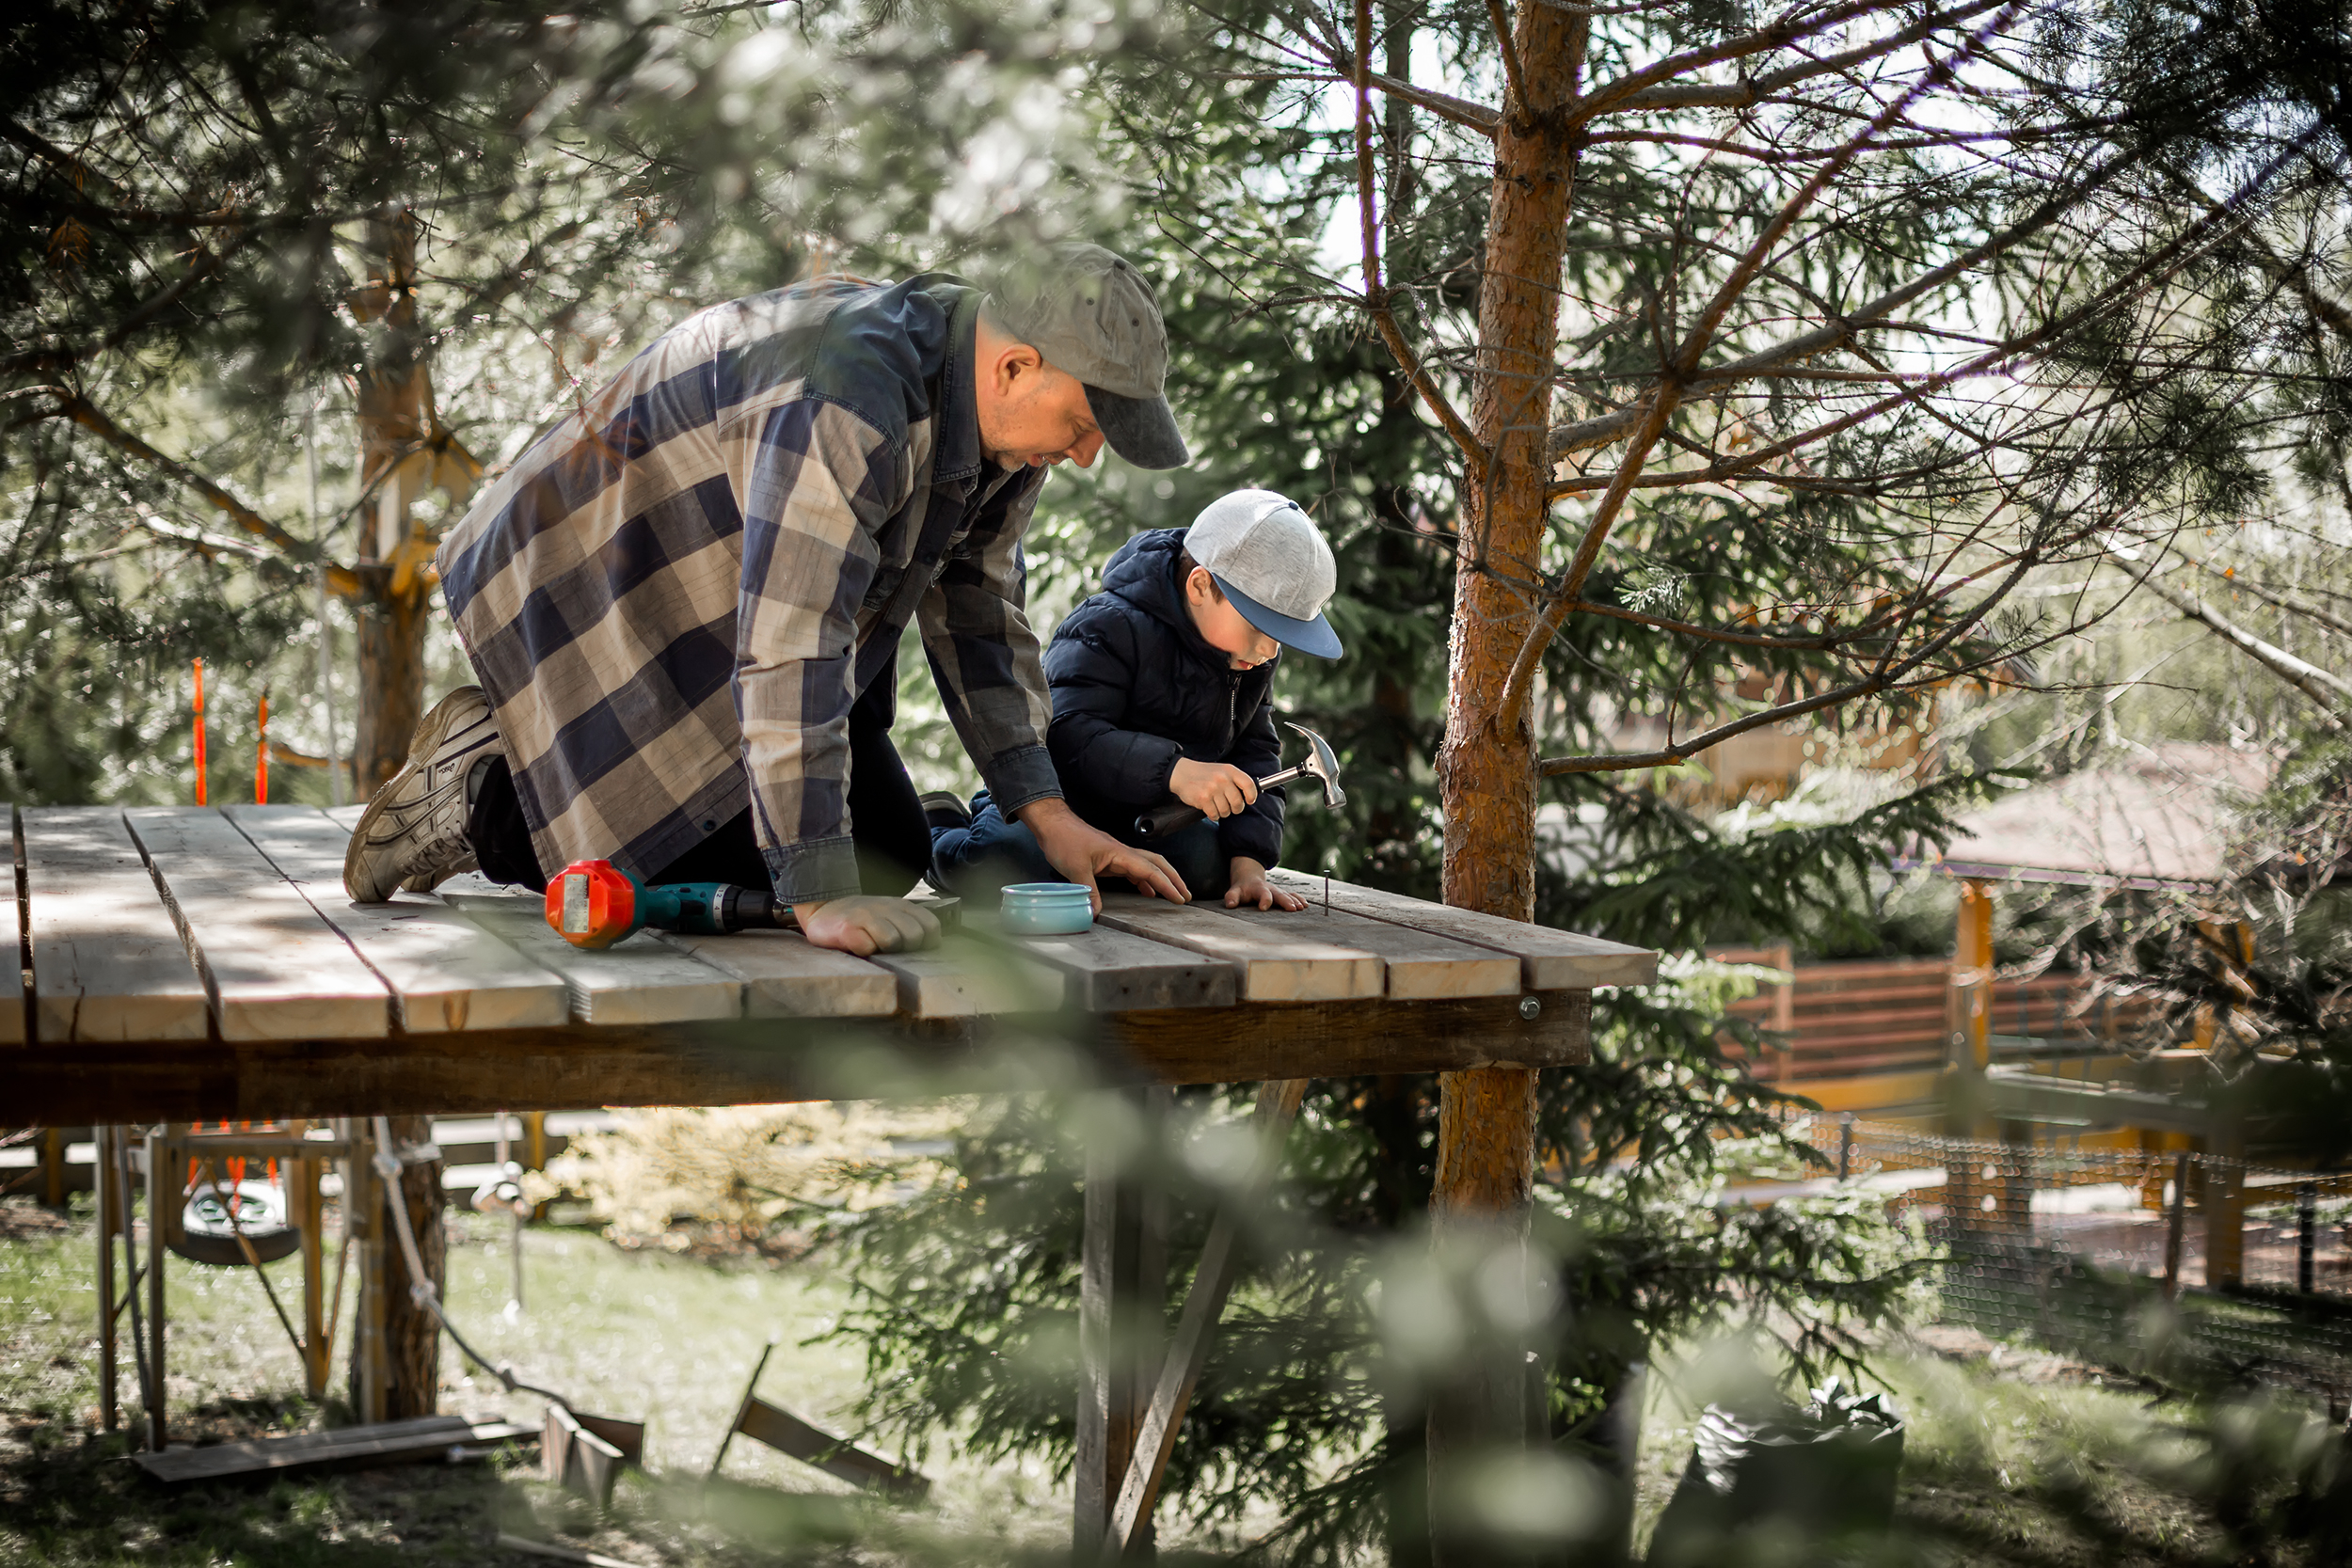
Don't forget decorative gable trusses and accents, which can easily be installed to give the treehouse a more 'real' appearance. Plus, they're a fun weekend project to do with your children!
So, put on your awesome patriotic T-shirt, gather your tools and instruments, and arm yourself with patience because we're going to reveal the secret of building a treehouse for your kids all by yourself!
What Kind of Tree is Ideal for Constructing a Treehouse?
Finding the proper tree is the first step in creating a treehouse. Consider the trees in your backyard while researching treehouse ideas. Choose one that is strong enough to support the weight of your new playhouse and one of your child and its guests. Preferably, look out for a tree with a prominent "y" shaped branch, but there are other factors to consider as well.
For optimal support, select a healthy, long-lived one with branches that can carry a lot of weight and at least eight inches in diameter, like oak, maple, or hickory. It would also be wonderful if the tree were tall enough to provide a beautiful view, but keep in mind the builder's and children's safety as well. We suggest that you go between 6 and 10 feet tall.
It is also essential to select a tree that has not been injured in any manner. Avoid those with shallow roots as well, as they are more fragile and have a weaker base.
If you don't have any suitable trees, we've given a few ideas for a free-standing treehouse that rests on supports.
So, without further ado, here is our ultimate guide on how to build a treehouse, as well as some of our favorite kid-friendly treehouse ideas:
How to Build a Treehouse?
As we already mentioned, the first step to building a treehouse is picking the perfect tree for this purpose. The next steps include:
Designing a Plan
Make as many precise modern kids treehouse blueprints as you can. Creating a plan will guarantee that you have the proper supplies on hand during the construction process. The height from the ground to the platform site should then be measured, followed by the size of the platform itself.
Include these measurements in your design. It's recommended you have plans for walls and railings, so you can give extra security for future treehouse dwellers.
Laying the Groundwork
What is a house without groundwork?
You will need 4x4 posts on solid deck blocks, which you'll install and support with scrap timber until you connect them. Once your posts are on their blocks, use 2x8 bands to align them and verify they are perfectly aligned. To complete this project, you'll need a framing nailer and 3-inch framing nails.
Setting Down the Platform and Connecting the Floor Joists
To design the platform, you must first decide how you want your deck to go. The position of your floor joists, which should run perpendicular to the decking planks, will be determined by this.
To link the floor joists to the tree, pre-drill it and the 2x8 bands before connecting them, making installation easier and reducing the likelihood of the boards cracking. After drilling, tighten the screws using an impact wrench. Remember that your lag screws must be at least 6 inches long. Add the remaining floor joists, making sure they are 16 inches from the center.
Once the joists are in position, use a hammer and 1-inch galvanized nails to install joist hangers.
Cutting the Angle Braces and Attaching Deck Boards
Next, trim your 4x4 posts for angle braces using your miter saw, making a 45-degree angle cut. The bracing will provide additional support to the foundation. Every angle brace should be approximately 2 feet in length. Use 3-inch deck nails to attach to the groundwork.
Then, using 2-inch wood nails, attach the deck planks to the platform. Make sure to measure each piece carefully since you'll need to cut around the tree and posts to fit.
Building the Framework and the Roof
It's time to turn our attention to the walls.
To create the treehouse frame, measure and trim your 2x4 studs. The structure should be built depending on the platform's perimeter and the required height of the roof.
Attach the framing nailer and 3-inch nails to the platform. Then, at 16 inches in the middle, put vertical studs. Ensure to frame out the areas where you intend to install doors and windows.
To create the ridge beam for the roof, you will need to utilize 2x6 timber and a saw. Attach the 2x4 rafters at a distance of 2 feet in the middle. The rafter should extend from the top plate of the walls all the way up to the ridge beam.
Framing the Walls and Installing the Siding
Using your 2x4 studs, construct the gable end walls from the floor to the rafters. Once installed, the temporary 2x4s may be removed.
After you've finished putting up your walls, you may start putting up your siding. Measure and cut it to the size you want. Then, using a framing nailer and 3-inch framing nails, attach it. The siding should next be nailed to the gable end walls. Then, using a reciprocating saw, cut away any excessive wood.
Making Holes for Doors and Windows and Putting Up a Roof
Make holes for doors and windows with а reciprocating saw.
The next step is adding the roof of your treehouse. Cut the plywood sheathing to size and fasten it to the rafters using a framing nailer and 3-inch nails. Allow enough space for the tree and enough plywood for a 6-inch overhang.
Installing a Handrail and a Ladder
It's a good idea to install a handrail in your treehouse for better safety.
For the ladder, the rungs should be 7 to 10 inches apart. Cut the necessary number of steps with 2 x 4 timber. Then connect them using a drill and three 3-inch deck screws.
Then, surprise your youngsters and relax in your tree house!
Popular Modern Kids Treehouse Ideas
Now, let's move to the next exciting part of this article: modern design ideas for the perfect treehouse!
A Free-Standing Treehouse
Don't be concerned if you don't have the appropriate trees for a treehouse. This self-contained tree home may be constructed anywhere.
You may add bunk beds or a plethora of toys to act out any adventures indoors.
Add Swings and Slides
Swings and slides are a child's best friend. We've all been kids, and we know how much fun all of this can be for a youngster. But add a treehouse to the picture, and it becomes spectacular!
Add Cushions
Keep it small, appealing, and simple. You can transform your treehouse into a clubhouse with a few striped floor cushions and pillows.
Make it Adult-Friendly
Adults, too, require recreation time. Or perhaps it's time to unwind. So, by designing a treehouse to be both an oasis nestled within trees for adults, and a daytime refuge for youngsters, you get the best of both worlds!
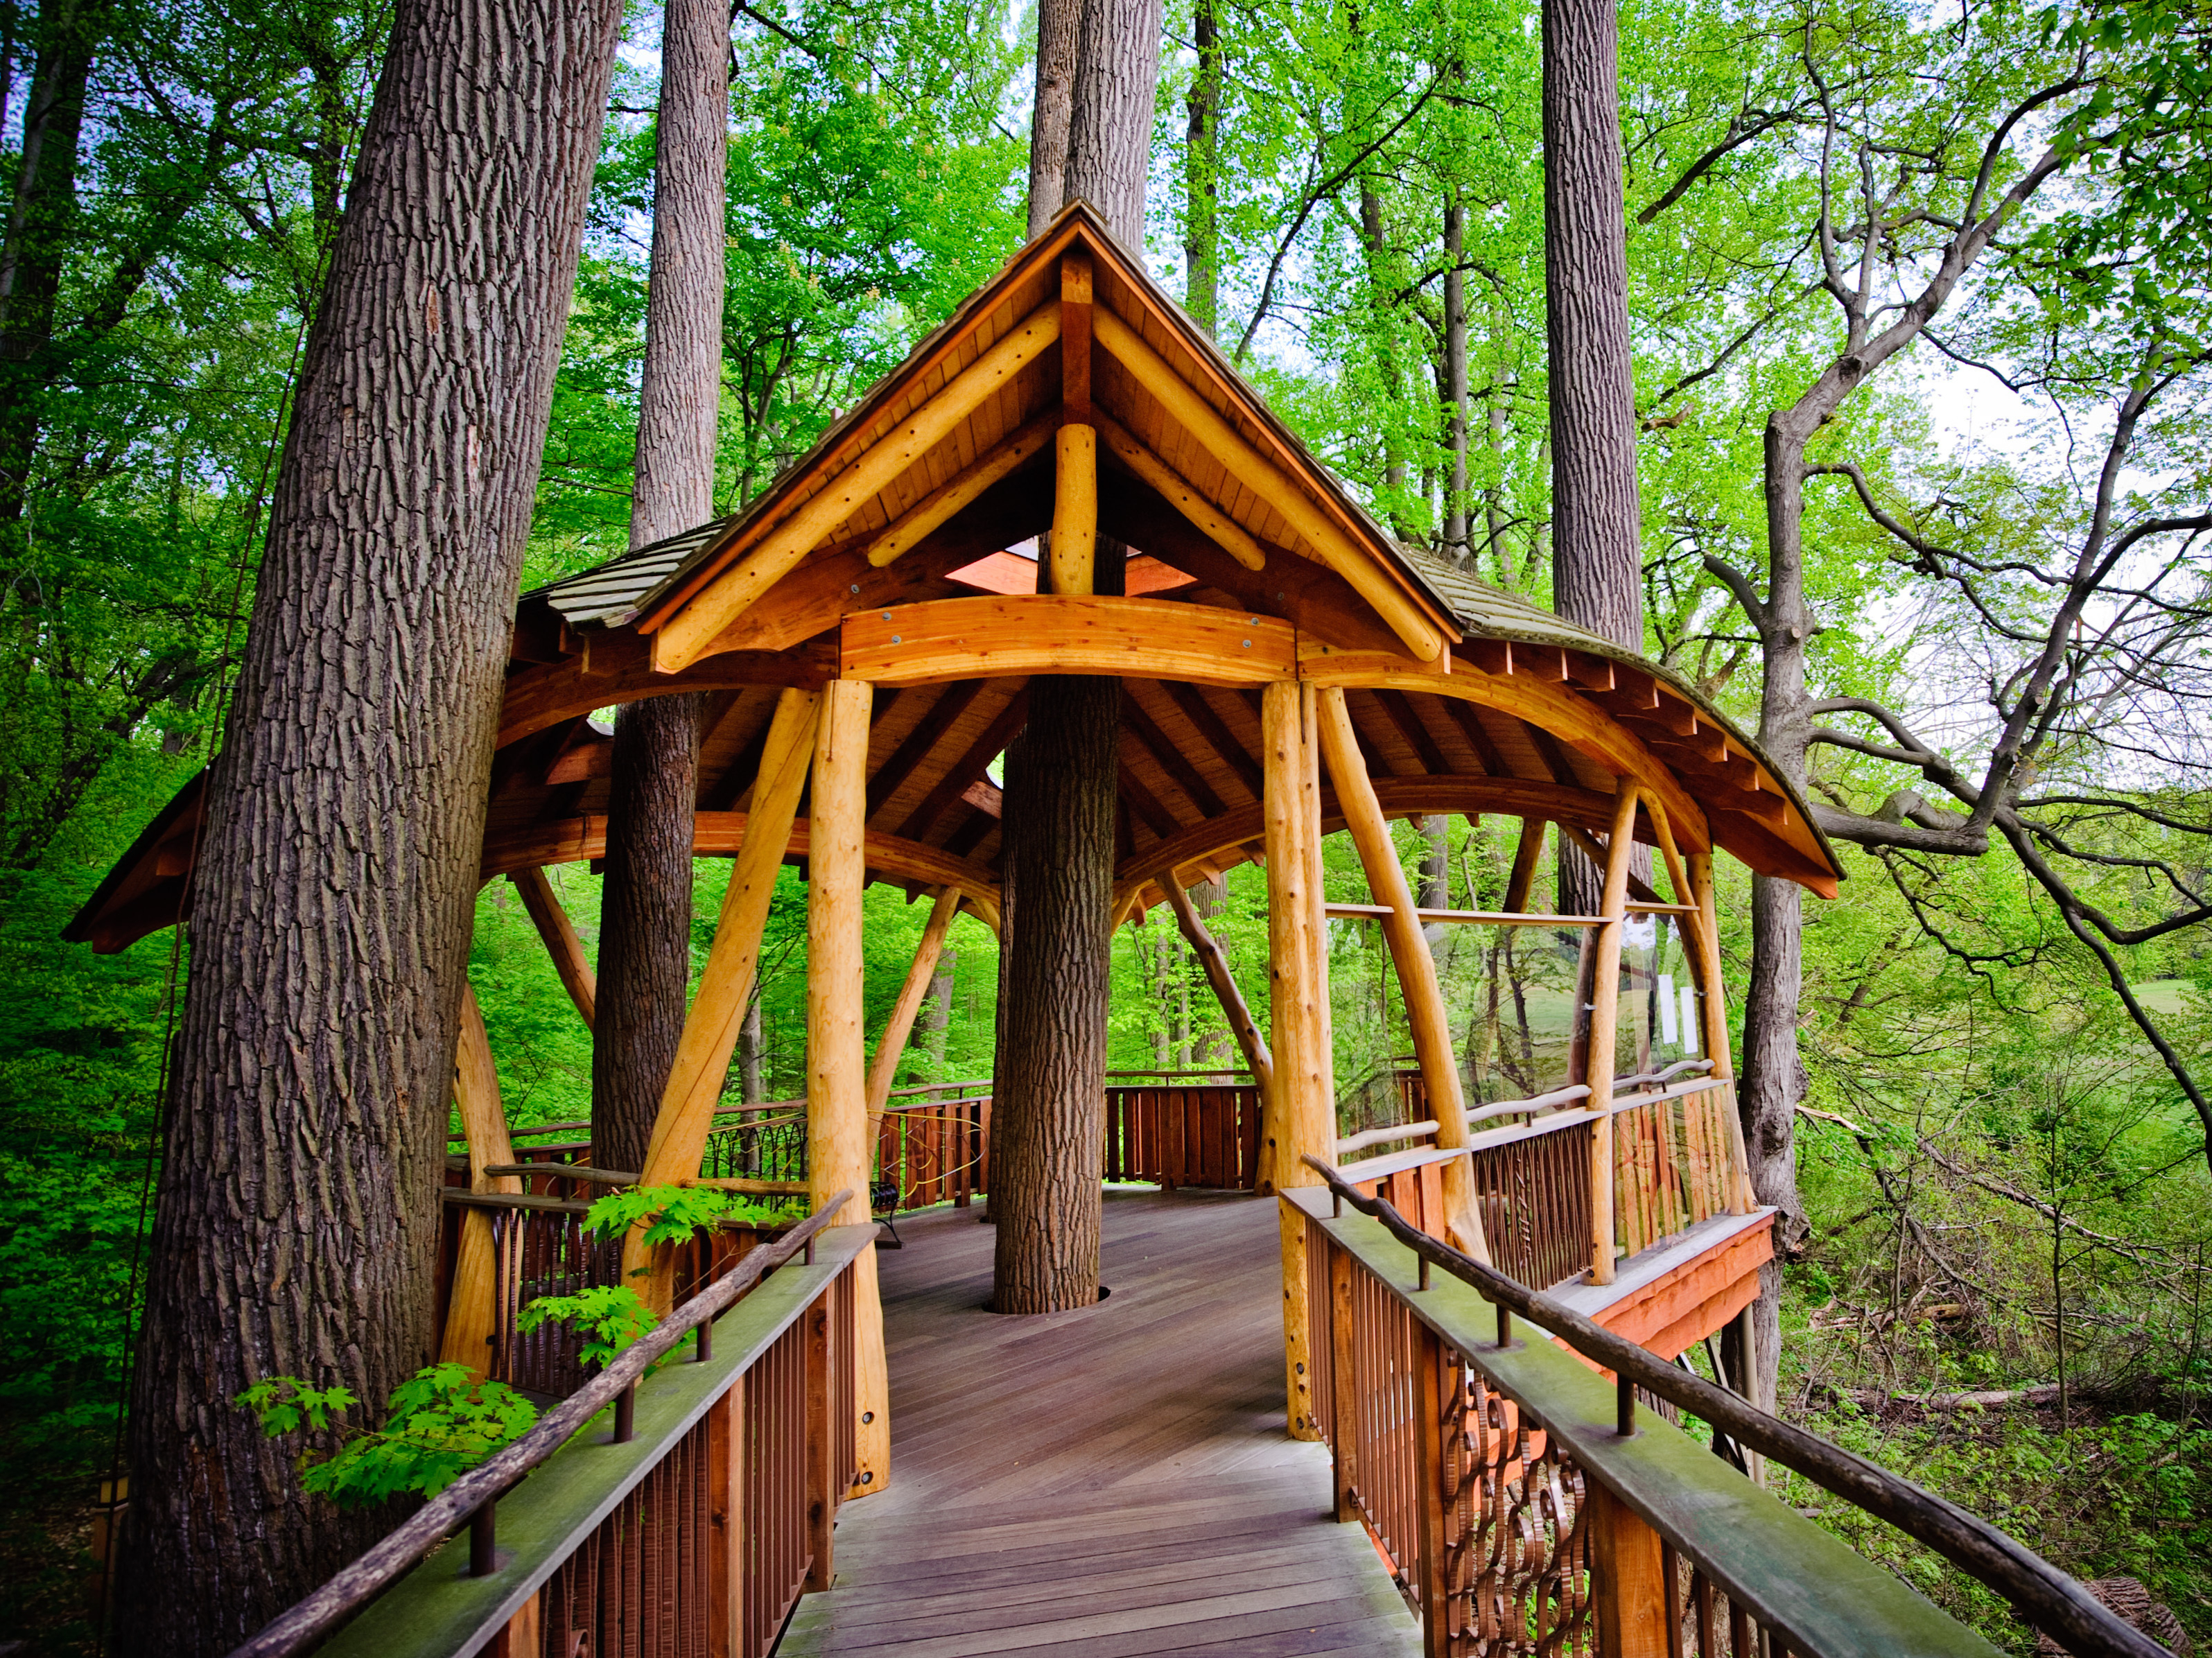
Add a Wrap-Around Porch
A wrap-around porch shouldn't only be limited to the main house. A porch like that may transform a simple treehouse into something far more than dreamy - a big wooden mansion, for example.
Go for a Modern Look
If you want to construct something trendy that not just your children will appreciate, modern treehouse ideas are appropriate. If you want an updated treehouse plan with an odd shape and windows ranging from little to massive - almost like a mini indoor landscaping project - futuristic home design plans are perfect for you! You can consider using wrought iron railings instead of wooden ones, as this will make it safer for kids and lengthen the exploitation period.
The Take-Away
Building an entire modern kids treehouse on your own isn't easy, but it can be a lot of fun, and perhaps, with the suggestions and guidance above, you'll be able to create one from the ground up! Plus, most of them are solid enough to last in the backyard long after the kids have outgrown them!