We are always looking for ways to jazz up our outdoor space in the backyard. We recently purchased a huge outdoor umbrella, table set, and lounger so we can kick back in comfort. Of course, we already have a gas grill and trampoline for the kids, so no reason to go inside. Yes! Drinks, we find ourselves running to and from the kitchen to get drinks. So we decided to bring the beverages outdoors with an outdoors serving station.
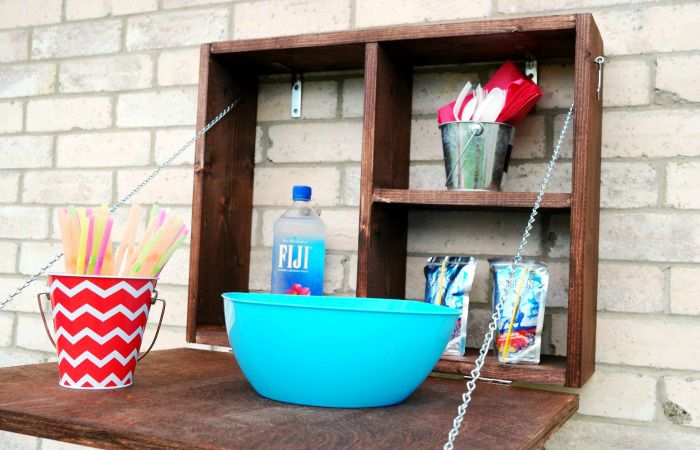
Outdoor Serving Station
Create an outdoor serving station that your guests are sure to marvel over. Then let them know you made it… all by yourself. Well, with a little help from the Do-It-Herself Workshops at The Home Depot. It’s a perfect way to invite your friends to join you at the next one, giving you another valid excuse to learn to do another project. Each project can build your confidence with tools and fine-tune your DIY skills. Now let’s build this outdoor serving station!

Supplies:
- 2′ X 2′ X ¾” project panel
- 10′ long, 1″ X 6″ pine board
- nailer with 1¼” nails
- wood glue
- paint or stain
- (4) ⅝” screws
- 2″ hook & eye kit
- 5′ jack chain and pliers
- 2-pack of 3″ utility hinges
- (4) 3″ deck screws
- (2) 3″ corner braces
In addition to the supplies above, you will also need a circular saw, level, drill with driving bits, safety goggles, tape measure, pencil, paintbrush, and gloves. Once you have all of the materials, you are ready to begin building your outdoor serving station.
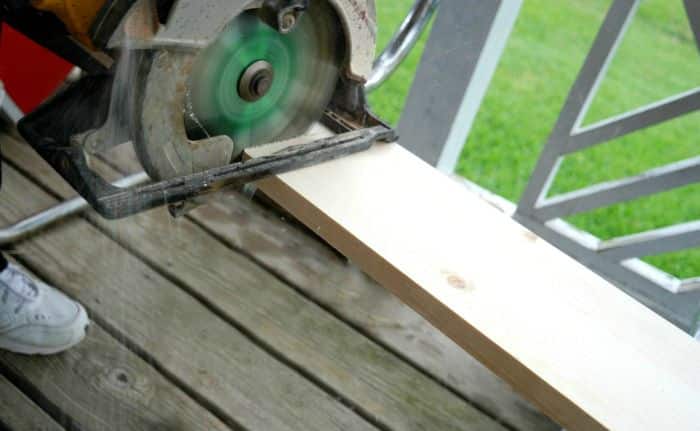
For this piece, you need to know how to rip narrow boards with a circular saw since you'll be cutting pretty slim wood boards. You can start by cutting each board and project panel into your desired length. Note that if you do not have a circular saw at home, you can use a track saw as an alternative.. Using the circular saw, cut the 1″ X 6″ into the following lengths:
- (2) 18¾”
- (2) 22½”
- (1) 17¼”
- (1) 10⅞”
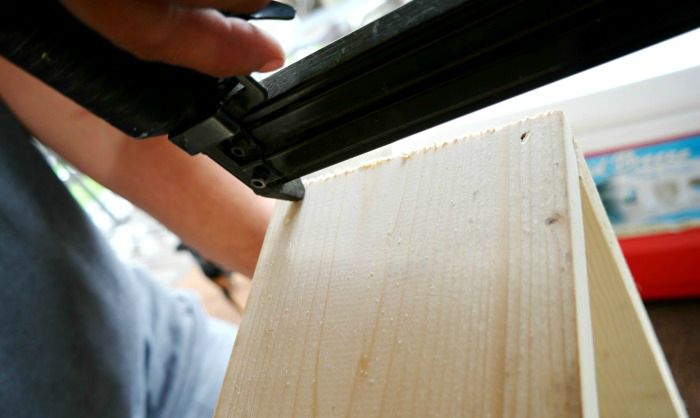
The project panel needs to be 2′ X 18″ rectangle as you prepare to assemble the box. The 22½” will be the top and bottom, whereas the 18¾” pieces will be the sides. Make sure that the pieces fit together and that the measurements are 24″ X 18″ to match the project panel. Once checked, carefully glue and nail each corner together.
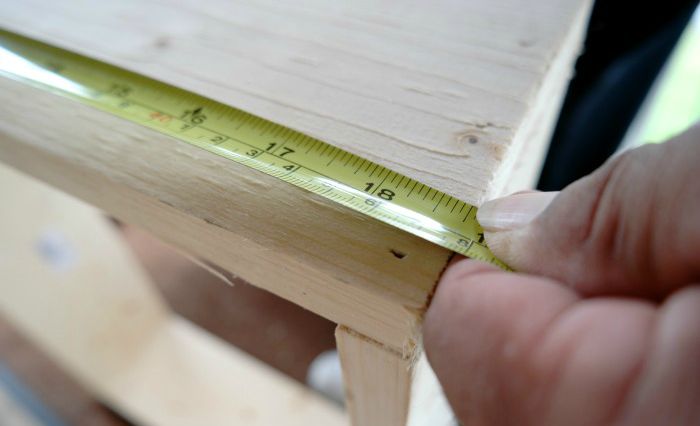
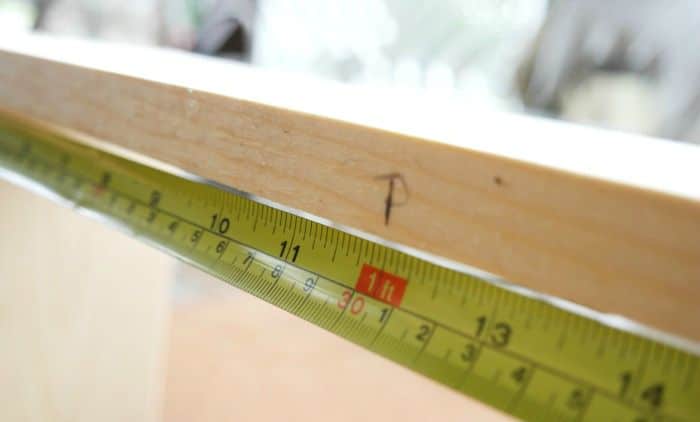
Once the outside of the box is assembled, it is then time to add the inner shelf and divider. Find the center of the box by measuring 12″ across both the top and bottom.
Insert the 17¼” board into the center of the box then glue and nail it into place.
Next, measure the outside length of the box to find the center at 9⅜”. Center the 10⅞” board to create the inner shelf. Secure it with wood glue and nails to finish the box assembly. We chose to stain our project but you could also paint.
What DIY Projects Are You Working On?
With the box complete, the folding top is ready to be installed. Using the 3″ utility hinges and with the box standing upright, attach the 2′ X 18″ rectangle project panel to the front of the box. This will become the folding table for your serving station.
Complete the attachment of the drop-down table using the 5′ jack chain as support. Cut the chain in half and measure back 2″ and in 1″. Use the ⅝” screws to attach the chain by drilling the screw directly through the loops in the chain. Stretch one side of the chain upward nice and taut, then attach the opposite end to the inside of the box in a similar fashion. Repeat on the other side.
Affix the hook and eye kit to the upper outside of the box and the corner braces to the inside top two corners to finish the serving station. Use deck screws to mount it to the wall. Use caution when stocking the outdoor serving station to ensure it will hold. Look for a stud when hanging directly on the wall or hang it on another string structure.
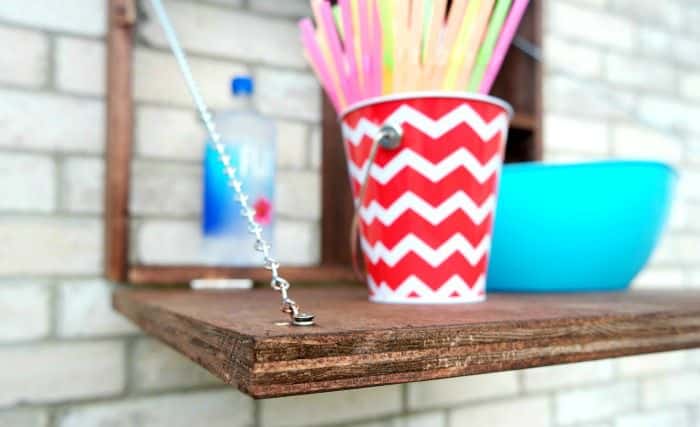
You’re now ready to invite family and friends over to show off your newly created DIY project!
Craftsman Club
Craftsman Club is the Craftsman brand’s members-only maker community, where inspiration and conversation thrive. You can share your work with fellow makers, seek advice in discussion forums and have access to resources to complete your next project, like this outdoor serving station. People can dig into a curated feed of thousands of projects from around the web where they can find their next DIY project. Members of the Craftsman Club get exclusive offers and deals, just for being part of the community (that means FREE)!
From now through July 31, Craftsman Club and Shop Your Way members can enter for a chance to win a trip to this once-in-a-lifetime experience by visiting the Makecation website.