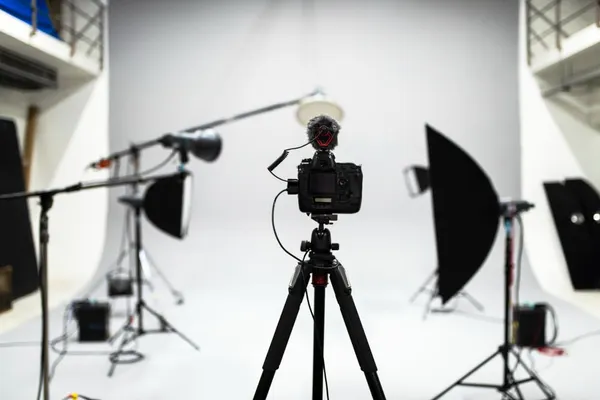
As a photographer, you know how important light stands are for capturing beautiful images. They determine the quality of your lighting setup and can make or break the finished product.
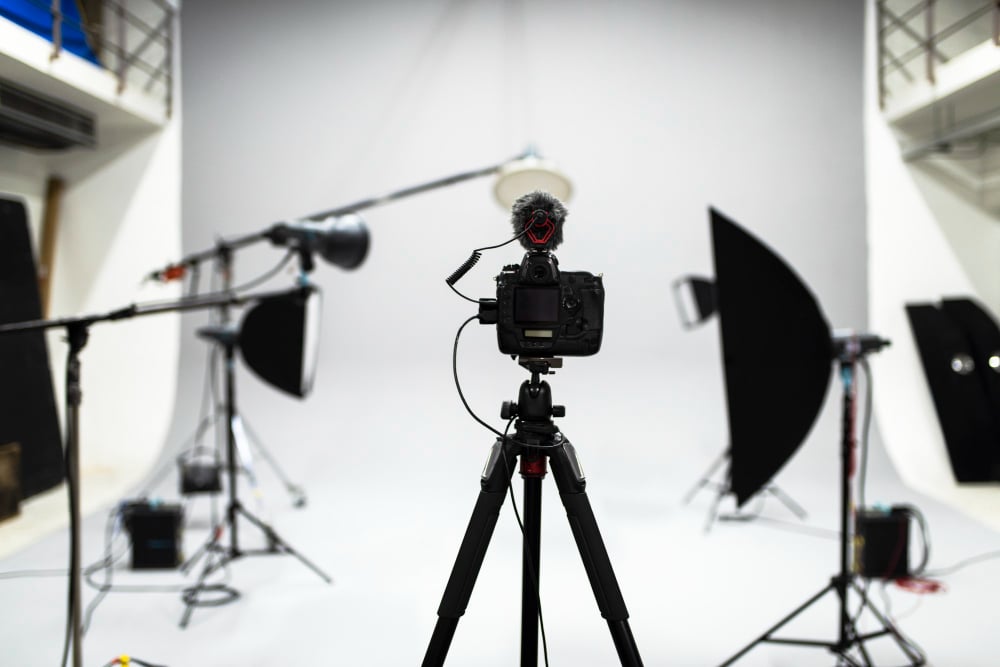
Whether it’s a simple portrait session in studio conditions or an elaborate Pouch 6 Studios set up, having the right light stand is essential to producing exceptional results.
In this post, we'll discuss light stands, from the basics to more advanced tips and tricks. You'll learn what light stands are used for, how they work, plus all of the accessories available to help achieve any desired lighting effect with ease.
What is a Light Stand and What Does it Do
A light stand is an essential tool for any photographer or videographer working with lighting equipment. It is a vertical pole with adjustable legs at the base to provide stable support for lights, reflectors, or other gear.
The height of the pole can be adjusted up to several meters, making it possible to position the light source at the desired height and angle for the shot. The main purpose of a light stand is to support the lighting equipment and keep it in place during a shoot. It allows for precise control of lighting and helps achieve the desired artistic effect.
The weight of the equipment placed on the stand, as well as external factors such as wind, will determine the stability needed for the stand. A well-chosen, sturdy light stand is crucial to achieving professional-quality photographs and video.
Different Types of Light Stands Available for Use
In the world of lighting equipment, light stands are the backbone. There are various types of light stands available to choose from, depending on your shooting needs.
For those who need a bit more control with their lighting, the LED light stand is an excellent option, with adjustable brightness and color temperature settings.
Then there are C-stands, which come in handy when shooting commercials, music videos, or fashion shows. They are robust and sturdy, perfect for holding heavy lights, flags, and reflectors.
If you'd like something more lightweight, then consider using lightweight stands for your next project. Their compact design makes them easy to transport and as well as mount lights when filming outdoors or on location.
Basic Tips for Using Light Stands
As a professional photographer, ensuring that your light stands are set up properly can be the difference between a great shot and a missed opportunity. When using light stands, it's important to keep in mind a few basic tips that will help you get the most out of your equipment.
First, always ensure that your stands are properly weighted and secured to prevent accidents. Second, be mindful of the positioning of your lights, as even small adjustments can have a big impact on the final result.
Finally, make sure to invest in high-quality stands that are sturdy, durable, and easy to adjust. By following these simple guidelines, you'll be well on your way to achieving the perfect lighting setup for your next shoot.
Lighting Effects You Can Achieve with Light Stands
Light stands are an essential tool for anyone looking to create a professional lighting setup. Whether you're a photographer, videographer, or content creator, a well-placed light stand can make a world of difference in your work.
One of the most popular and versatile options on the market is the LED light stand. With its ability to create a variety of lighting effects, the LED light stand is a must-have for anyone looking to achieve a sleek and polished look.
From soft, diffused lighting for portrait photography to a dramatic spotlight effect for cinematic video, the LED light stand can do it all. The height and direction of the light can also be modified to highlight or shadow specific areas and objects.
Advanced Techniques for Using Light Stands
Improvements in technology have allowed light stands to become more advanced and versatile, allowing photographers to experiment with new lighting techniques and create breathtaking images.
One advanced technique is to use a boom arm attached to the light stand, allowing greater flexibility in positioning the light source.
Another technique is to use a sandbag weight for added stability, especially when shooting outdoors or in windy conditions.
Furthermore, using a softbox or umbrella attachment can help diffuse the light and create a more natural and flattering look for subjects.
Choosing the Right Light Stand for Your Needs
Choosing the appropriate stand for your needs may seem like a daunting task, but it's all about considering the specifications that matter most to you. Height, weight capacity, and durability are all factors to take into account.
It's important to assess the maximum weight of your lighting equipment to ensure your stand can safely support it. Consider the height you'll need for your setup and choose a stand that can extend to that length. Durability is also crucial in order to avoid any concerns with safety or damaged equipment.
Troubleshooting Common Problems with Light Stands
Common issues include loose connections, bent legs, and difficulty adjusting the height. To troubleshoot these issues, it's important to start with the basics, such as checking if all parts are tightened securely.
Another solution could be adjusting the position of the legs or using sandbags to stabilize the stand. Whether you are a professional or a beginner, knowing how to troubleshoot common problems with your light stand can save you time and money while ensuring a successful shoot.
- Creating a Visual Legacy: How Photo Books Preserve Your Family's History
- Tips to Prepare for a Family Photoshoot and Family Photoshoot Ideas
- Stylish Things That’ll Make Your Home Unique
- <strong>How to Make Your Home Stand Out in a Competitive Market</strong>
- 4 Key Factors to Consider Before Starting Your Roof Renovation Project