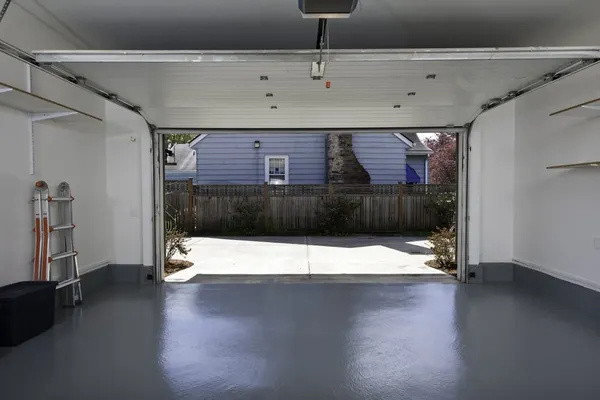
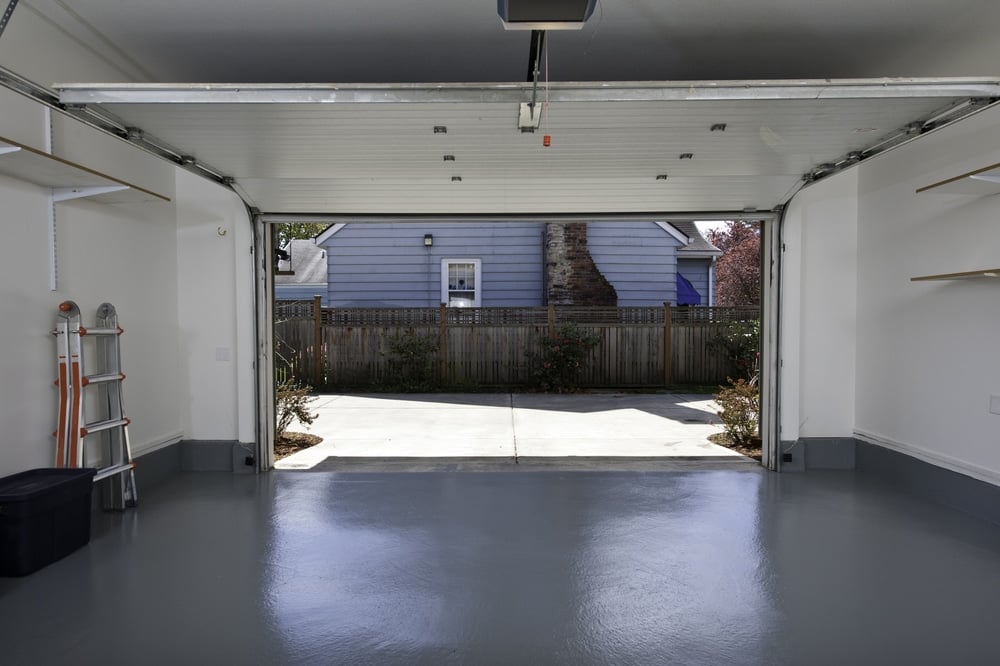
When it comes to taking control of household chaos, there’s one place that’s often overlooked yet bursting with potential – the garage. With the right plan and a few industrial shelving units, you can convert your garage into a storage haven that works for your lifestyle.
Whether you're storing sports gear, DIY tools, or those seasonal decorations, this guide will walk you through how to maximise your garage space using sturdy, efficient shelving solutions.
Why Choose Industrial Shelving Units?
Industrial shelving is the unsung hero of garage organisation. Here’s why it’s the perfect choice for dads looking to reclaim their garage space:
- Durable and Strong: These shelves are built to hold heavy loads, perfect for bulky equipment or stacks of boxes.
- Customisable Configurations: Adjustable shelving allows you to adapt as your storage needs change, whether it’s making room for kids’ bikes or extra tools.
- Space Optimisation: Utilising vertical space helps keep the floor clear, giving you more usable room for activities (or finally parking the car in the garage!).
- Cost Effective: Industrial shelving is affordable, long-lasting, and saves you money by reducing the need for expensive off-site storage.
Step by Step Garage Transformation
Step 1 Assess and Declutter
Before you start building storage, confront the current state of your garage. Empty it out completely and sort items into categories like keep, donate, and toss. Ask yourself when you last used each item – be ruthless!
Step 2 Plan Your Layout
Not all garages are created equal, and neither are storage needs. Sketch out your space and decide where larger items (like a workbench or lawnmower) will go. Then identify key areas for shelving that will make your frequently-used items easy to access.
Step 3 Choose the Right Shelving Units
Select industrial shelving that fits your needs. Consider these factors when purchasing your shelves:
- Weight Capacity: Heavy-duty units are ideal for tools and equipment.
- Material: Metal is durable and long-lasting, while plastic may work for lighter loads or damp environments.
- Adjustability: Look for shelves with adjustable heights to fit everything, from toolboxes to storage bins.
Step 4 Organise by Zones
Once your shelves are installed, designate zones for different categories of items. For example:
- DIY Area for tools and hardware.
- Sports Gear Zone for footballs, bats, and helmets.
- Seasonal Storage for items like decorations or winter tyres.
Use clear plastic bins with labels to keep everything visible and easy to find. Pro tip – store the most-used items at eye level, while seasonal or rarely used gear can go on top shelves.
Step 5 Safety First
Industrial shelving is sturdy, but proper precautions make a world of difference. Secure shelving units to the wall to prevent tipping, especially in homes with energetic little ones running around.
Step 6 Get the Family on Board
Your newly organised garage is a family space, too! Teach everyone in the household where things go and encourage them to put things back after use. This keeps the space tidy and avoids your hard work going to waste.
The Long Term Gains
By converting your garage with garage shelving, you’re not just creating storage space – you’re building a functional, organised area that saves time, reduces stress, and can even increase your home’s resale value. And as every dad knows, being able to find the right tool or piece of sporting kit when you need it is a game changer.
Invest in the right shelving today and transform your garage into a space you (and your family) can actually enjoy. Take that first step, and soon your once-cluttered garage may just become the most organised spot in the house!