It should have worked. You did everything right. Or at least, you thought you did.
But now, something’s off. The outlet you just rewired? Dead. The new lights? Flickering like a cheap horror movie effect. The motor that was supposed to kick on? Nothing.
You check your work. The wires are in place. The crimps look solid. But are they?
That’s the thing about electrical failures—they don’t always happen right away. A weak crimp might pass the first test, lulling you into a false sense of security. Then, weeks or months later, under stress, under heat, under load—it fails.
Maybe it’s just an annoying flicker. Maybe it’s a dead circuit at the worst possible time. Or maybe, in the right conditions, that loose connection starts to heat up, insulation melts, sparks fly, and suddenly you’re not just dealing with a bad crimp—you’re dealing with a fire hazard.
And the worst part? Most people have no idea they’re doing it wrong.
It’s not your fault. Pliers seem like they should work. A crimp that looks tight might still be weak inside. And if nobody ever showed you the right way, how were you supposed to know?
But now you do. And after this, you’ll never have to wonder if your connections are solid again.
Why Crimping Matters More Than You Think
Let’s get this out of the way: A bad crimp doesn’t just “kind of” work. It flat-out doesn’t work.
Think of a wire connection like a handshake. Too weak, and it’s unreliable. Too hard, and you crush the bones.
Crimping is about controlled force - enough pressure to create a gas-tight bond, but not so much that you crush the wire strands into oblivion (source).
Where People Go Wrong (And How to Fix It)
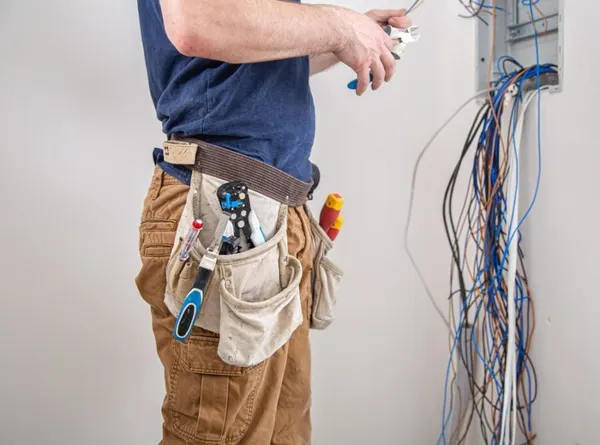
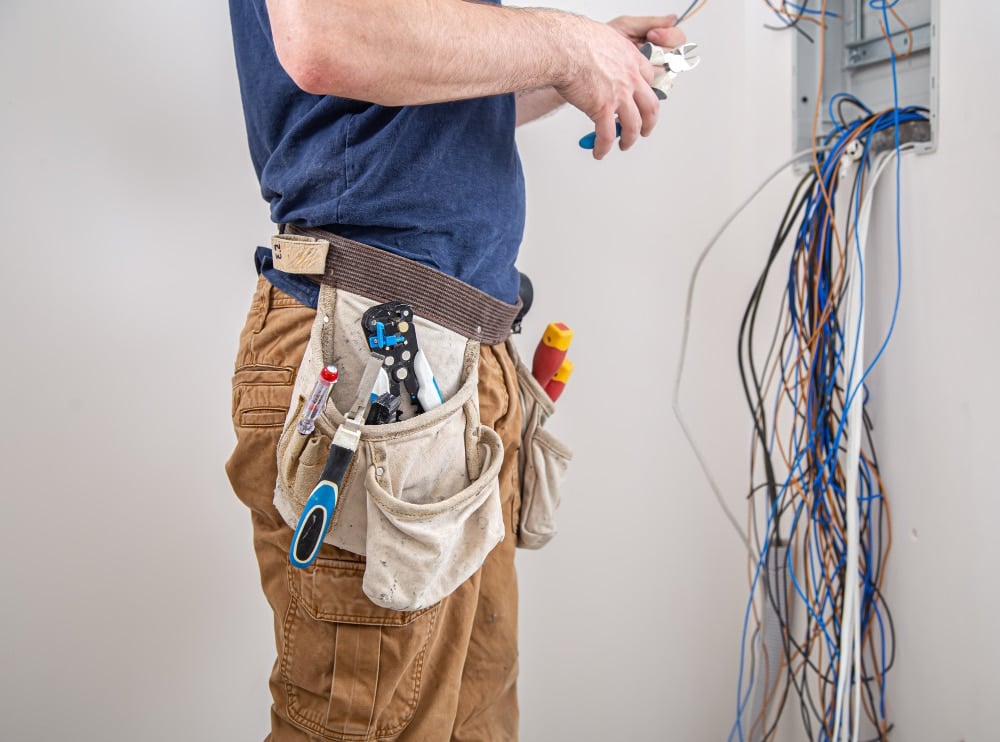
- Using pliers instead of a crimper - That’s like hammering a nail with a wrench. Yeah, something happens, but it’s not what you wanted. Pliers don’t distribute pressure properly, leading to loose, high-resistance connections that will fail under load.
- Stripping too much or too little insulation - If too much copper is exposed, it can short against nearby metal. Too little? The crimp only grips insulation instead of the wire, so it pulls loose with barely a tug. The magic number? 5-7mm (3/16" to 1/4") – read more here.
- Mismatched terminal size - You wouldn’t wear shoes three sizes too big, right? A too-small terminal crushes the wire strands, reducing conductivity. Too big? The wire barely makes contact and will shake loose at the worst moment.
- Skipping the pull test - If you don't give your crimp a good yank to check it, you’re rolling the dice on whether it’ll hold up. A proper crimp should withstand at least 15-20 lbs of pull force before budging.
Why this matters: High-resistance connections can generate heat exceeding 90°C (194°F) - hot enough to fry insulation like bacon in a pan. This can lead to melted wires or even an electrical fire. Plus, insurance companies are less than thrilled about paying out claims when they discover DIY wiring disasters.
Deep dive: Think of crimping as the electrical version of a proper handshake - firm, reliable, and free of that awkward limpness. The science behind a good crimp is cold welding, which is about creating a microscopic fusion between wire strands and the connector. This lowers resistance to below 5 milliohms - a tiny but critical detail if you want your connections to stay cool under pressure.
Pro Tip: Proper crimping doesn't just make connections secure - it extends the lifespan of your home’s electrical components by reducing micro-arcing that degrades wires over time.
Choosing the Right Crimping Tool: Avoid the Most Common Mistake

Security Crimping & Cutting Plier | maunindustries.com
Trying to crimp wires with generic pliers is like cutting steak with a butter knife - frustrating and doomed to fail.
A dedicated crimping tool might cost a bit more, but it’s worth it for the reliability and peace of mind. After all, nobody wants to wonder if their garage door is going to short out every time they hit the button.
Key factors to consider:
- Gauge compatibility: Match your crimper to the wire gauge - typically 22 AWG to 10 AWG for most home projects. Using the wrong gauge slot is like putting a Prius engine in a Mustang - just don’t.
- Integrated wire stripper: Think of this feature as the Swiss Army knife of crimpers. It prevents nicks in the wire, which can cause breaks. High-quality strippers can maintain a tolerance of 0.2 mm, which is about the width of a human hair.
- Ratchet mechanism: Ensures uniform pressure of about 450-600 psi. The ratchet locks until the crimp is fully compressed, so you won’t accidentally release it early - like hitting “send” on that email rant before spell-check.
Pro Insight: For automotive or marine work, pick a crimper with a hexagonal die. The hex shape grips stranded wire evenly, reducing the chance of failures.
Looking for a good tool? Maun crimping pliers are very well made and have a good reputation.
Real-world example: A friend of mine was rewiring his boat and used a cheap crimper that didn’t compress evenly. A week later, one of the connections failed, causing his bilge pump to stop working mid-trip. Lesson learned - don’t go cheap on crimpers.
Expert Insight: Investing in a quality crimper pays off by reducing redo work and preventing electrical hazards.
The Anatomy of a Perfect Crimp: Getting the Basics Right
Picture a good crimp as the electrical equivalent of sealing a Ziploc bag - airtight and locked in. But if you rush it, you’ll end up with a connection that’s about as reliable as dial-up internet. Here’s how to do it right:
- Prepare the wire: Strip off 6.5 mm (1/4 inch) of insulation - no more, no less. Too much and you risk exposed wires; too little and the connection won’t hold. For stranded wires, a flush cut prevents rogue strands that could cause shorts.
- Select the right connector: Use insulated terminals for home and automotive wiring, which can handle temperatures up to 150°C (302°F). Non-insulated terminals work better for high-heat situations, like kitchen appliances.
- Crimp with confidence: Insert the wire fully into the terminal. Use steady pressure until the crimper releases. A proper crimp should deform the terminal slightly - if it looks the same as before, you probably just gave it a light hug.
Advanced Tip: Double crimping is a pro move. One crimp secures the wire, and a second provides strain relief, making it ideal for things that vibrate a lot, like garage door motors or power tools.
Real-world example: I once rewired a basement with LED strips for a friend who wanted that "TikTok studio" vibe. One flickering strip turned out to be a bad crimp. Fixing it turned a nightclub into a home theater in minutes.
Tip: A proper crimp should withstand a firm tug of at least 20-30 pounds without coming loose. If it fails, you need to start over.
Testing Your Crimps: The Step Everyone Skips
Testing is like flossing - everyone knows they should do it, but most skip it. The pull test is basic but better than nothing. For real confidence, grab a multimeter. Set it to continuity mode, touch the probes to each end of the wire, and listen for that satisfying beep. No beep? Redo the crimp.
Advanced technique: Use a milliohm meter for critical circuits. If the resistance is above 5 milliohms, your crimp isn’t cutting it. Think of this as the difference between a quick glance in the mirror and a full dental X-ray.
Pro Tip: Coat outdoor crimps with dielectric grease rated for -40°C to 150°C before sealing to prevent corrosion.
Wire Gauge vs. Amperage: Avoiding the Hidden Danger
Mismatching wire gauge and amperage is the electrical equivalent of putting a V8 engine in a go-kart - exciting until something catches fire (source). Too thin a wire can heat up and cause a meltdown. Use the American Wire Gauge (AWG) chart to find the right size based on current:
Quick reference:
- 14 AWG: Up to 15 amps, for outlets and lights.
- 12 AWG: Up to 20 amps, for kitchen appliances.
- 10 AWG: Up to 30 amps, for bigger draws like water heaters.
Advanced detail: Aluminum wire requires upsizing by 2 AWG compared to copper. Also, consider voltage drop for long runs - more than 3% drop can cause flickering lights and underpowered appliances.
Safety Check: Always round up to the thicker gauge if unsure.
Summary: Key Techniques to Remember
- Invest in a quality crimping tool for consistent results.
- Test every crimp with a multimeter, not just a pull test.
- Seal connections with heat shrink for added safety.
- Match wire gauge to amperage to prevent overheating.
Final Thought: Safe electrical repairs aren’t about luck - they’re about skill. Every crimp done right is one less hazard waiting to happen.